Introduction To Renoise: Difference between revisions
No edit summary |
No edit summary |
||
| Line 8: | Line 8: | ||
When you launch Renoise for the first time you will be presented with something similar to the image below: | When you launch Renoise for the first time you will be presented with something similar to the image below: | ||
[[Image:3. | [[Image:3.4_mainscreen.png]] | ||
You should also see the Welcome panel, but if you've disabled or dismissed it, just click on the Renoise logo at the bottom-right corner to bring it back. The panel provides links to this manual, the user forum and the official website. There are also tabs which show the files that have been recently loaded and saved, as well as quick access to the demo and tutorial songs. Looking at how these songs play can be a great way to learn about how Renoise works, so just double click on one to load it in and hit the [[#Global Song Control|Play button at the top-left]] or press the space-bar on your computer keyboard. | You should also see the Welcome panel, but if you've disabled or dismissed it, just click on the Renoise logo at the bottom-right corner to bring it back. The panel provides links to this manual, the user forum and the official website. There are also tabs which show the files that have been recently loaded and saved, as well as quick access to the demo and tutorial songs. Looking at how these songs play can be a great way to learn about how Renoise works, so just double click on one to load it in and hit the [[#Global Song Control|Play button at the top-left]] or press the space-bar on your computer keyboard. | ||
[[Image:3. | [[Image:3.4_welcome.png]] | ||
| Line 24: | Line 24: | ||
=== Upper Status Bar === | === Upper Status Bar === | ||
[[Image:3. | [[Image:3.4_upperstatusbar.png]] | ||
Located at the very top of the interface is the Upper Status Bar. The left side offers a variety of menu options and just to the right of this is the Master volume slider, which controls the overall volume of the song. Next is the button to enable auto-adjusting of the Master volume level to avoid clipping (the volume will be automatically lowered when clipping occurs). Further right is the VU meter showing the current Master volume level, followed by the MIDI controls ([[MIDI Mapping]] button, MIDI I/O LEDs), Song Timer and the current CPU usage. | Located at the very top of the interface is the Upper Status Bar. The left side offers a variety of menu options and just to the right of this is the Master volume slider, which controls the overall volume of the song. Next is the button to enable auto-adjusting of the Master volume level to avoid clipping (the volume will be automatically lowered when clipping occurs). Further right is the VU meter showing the current Master volume level, followed by the MIDI controls ([[MIDI Mapping]] button, MIDI I/O LEDs), Song Timer and the current CPU usage. | ||
| Line 30: | Line 30: | ||
=== Global Song Control === | === Global Song Control === | ||
[[Image:3. | [[Image:3.4_transportpanel.png]] | ||
Just below the Upper Status Bar on the left-hand side are the basic [[Transport Panel]] controls. From here you can start/stop the song and access basic editing features such as Edit Mode (record) and the metronome. | Just below the Upper Status Bar on the left-hand side are the basic [[Transport Panel]] controls. From here you can start/stop the song and access basic editing features such as Edit Mode (record) and the metronome. | ||
Revision as of 11:30, 21 March 2022
Introduction To Renoise
Welcome to Renoise, an audio creation package that is significantly different from most of the others. This means the interface may look unusual or a bit complex, but this introduction will familiarise you with its main components and explain their basic functions. If you haven't already set up audio and MIDI devices, then it's recommended to move on to those sections of the manual after reading through this page.
Main Screen Overview
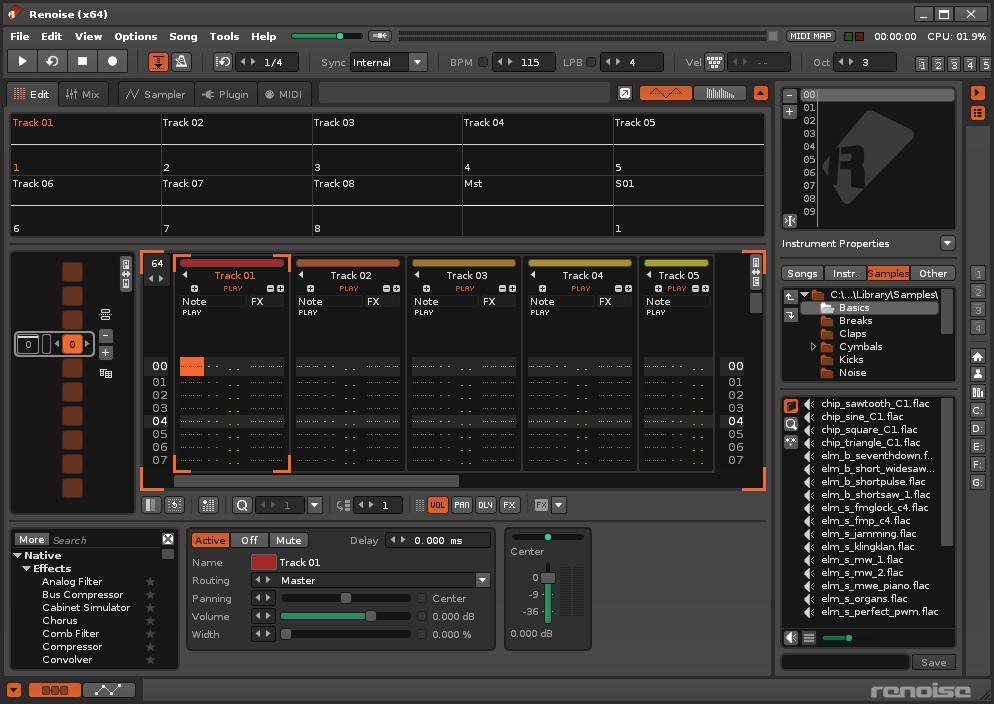
When you launch Renoise for the first time you will be presented with something similar to the image below:
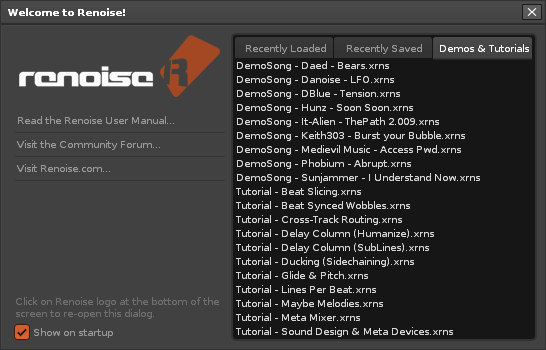
You should also see the Welcome panel, but if you've disabled or dismissed it, just click on the Renoise logo at the bottom-right corner to bring it back. The panel provides links to this manual, the user forum and the official website. There are also tabs which show the files that have been recently loaded and saved, as well as quick access to the demo and tutorial songs. Looking at how these songs play can be a great way to learn about how Renoise works, so just double click on one to load it in and hit the Play button at the top-left or press the space-bar on your computer keyboard.
We will now briefly go through the main areas of the Renoise interface. Note the links in blue, which you can click on for more detailed information about the various components.
Upper Status Bar
Located at the very top of the interface is the Upper Status Bar. The left side offers a variety of menu options and just to the right of this is the Master volume slider, which controls the overall volume of the song. Next is the button to enable auto-adjusting of the Master volume level to avoid clipping (the volume will be automatically lowered when clipping occurs). Further right is the VU meter showing the current Master volume level, followed by the MIDI controls (MIDI Mapping button, MIDI I/O LEDs), Song Timer and the current CPU usage.
Global Song Control
Just below the Upper Status Bar on the left-hand side are the basic Transport Panel controls. From here you can start/stop the song and access basic editing features such as Edit Mode (record) and the metronome.
Song Visualisation
Below the Transport Panel are the Scopes, which provide visual feedback and can help you to analyse the song as it is playing.
Loading & Saving Files
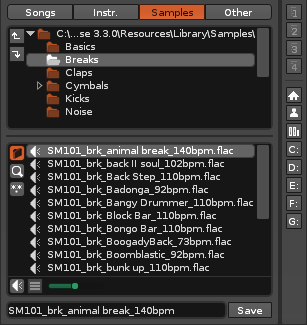
At the bottom right corner of the interface is the Disk Browser, which is used to load or save songs, instruments, samples, effect chains etc. Upon first loading Renoise you will see a list of demo songs here. Double click on a song to load it, then press play to see and hear Renoise in action.
Selecting Instruments
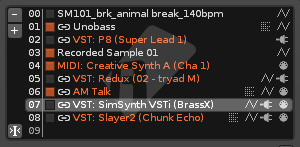
Just above the Disk Browser is the Instrument Selector, where you choose the current instrument that you wish to play or record with using either the computer keyboard or an external MIDI keyboard.
Editing View
Selecting one of these tabs will change the content of the large central section of the interface. By default it will be set to Edit, displaying the Pattern Editor where you record notes and effect commands. Selecting Mixer will open the mixer view, which is more efficient for monitoring and editing the song's various tracks and effect devices. The next three tabs deal with different aspects of the currently selected Instrument, which in Renoise may contain any combination of samples, plugins and MIDI.
GUI Presets
Directly above the Instrument Selector are a set of eight global preset buttons used to switch between various sections of the interface and are accessed by either left-clicking on them or pressing F1 - F8 on the keyboard. Renoise comes with eight presets already stored by default, but you can create your own by right-clicking a button to save the current GUI setup.
Sequencing Patterns
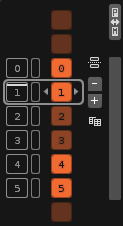
Located at the far left of the screen is the Pattern Sequencer. Renoise uses a sequence of patterns to arrange the structure of a song and the Pattern Sequencer is used to create, copy and organise your patterns.
Creating Patterns
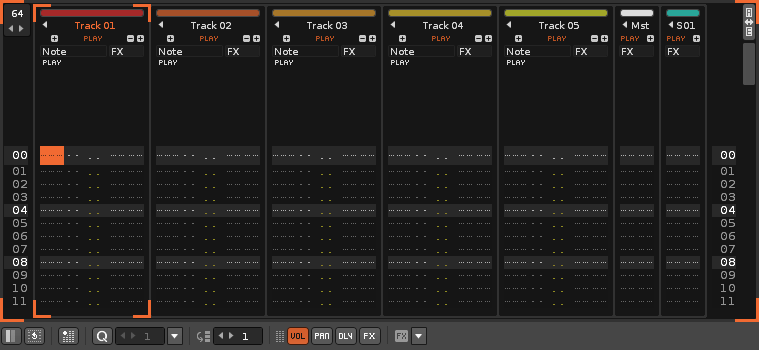
To the right of the Pattern Sequencer and occupying the large central space is the Pattern Editor, which is the main tool for composing and editing within Renoise. Although it may look intimidating to beginners, the method of adding/recording notes into tracks using the Pattern Editor is actually incredibly simple.
Applying Effects
Beneath the central area is the panel for Track Effects. This displays and controls all of the effects that are being applied to the current track (the track which the cursor is in). Besides the typical Audio Effects (native/VST/AU/LADSPA/DSSI) you can also assign Routing Devices to send/receive audio, and Meta Devices such as LFOs that do not directly affect audio, but are instead used to alter parameters through automation.
Lower Status Bar
Finally, at the very bottom is the Lower Status Bar. The icons at the left allow you switch between the Track Effects and Graphical Automation panels or hide them completely. At significant points, Renoise will display information regarding its status and current operations here. If you wish to see the Welcome panel again, click on the Renoise logo at the right.
Guide Yourself Through the Interface: Tooltips
As you are using Renoise, watch out for Tooltips, which can be seen by hovering the mouse pointer over a button or part of the interface for a second. Almost every button in Renoise will provide you with a small tip about its function.
Renoise Work-flow: Learning the Keys
While Renoise supports drag'n'drop and mouse gestures, it is primarily a keyboard-based application. As such, there are keyboard shortcuts for practically every function. To view the available shortcuts, select "Help->List Keyboard Shortcuts..." from the Upper Status Bar. If you are interested in a shortcut specific to an interface area, you can right-click to open a context menu. Additionally, the keyboard shortcuts can be customised in the "Edit->Preferences->Keys" menu.
A list of most important shortcuts can also be found in the Keyboard Shortcuts section of this manual.
